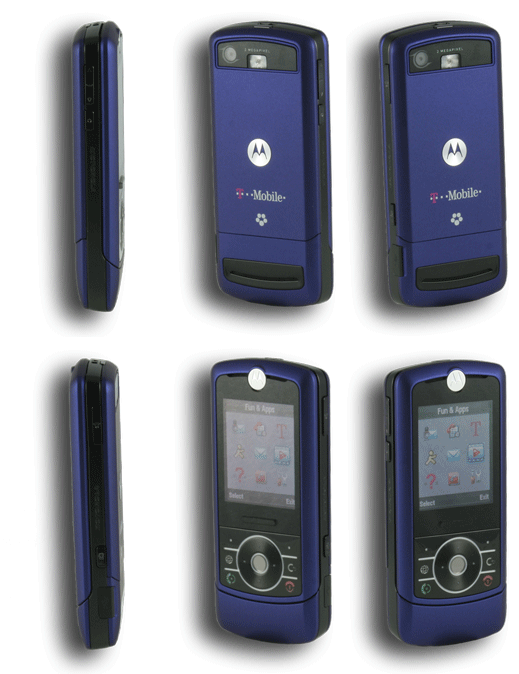
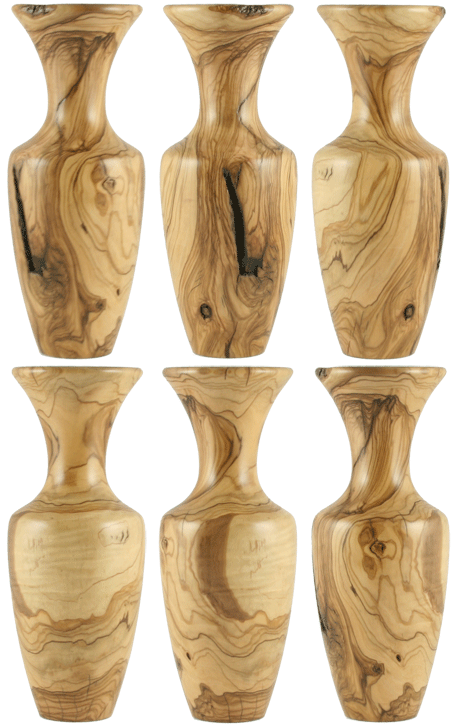
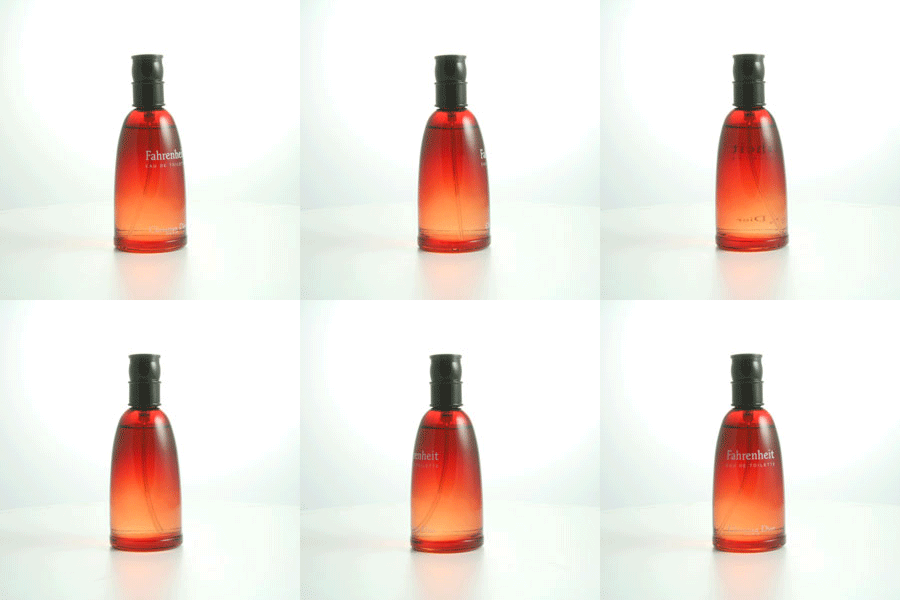
Introducing the
EZspin, a breakthrough in rotating object photography. Our white EZspin
turntable was created with ease of use in mind. Now anyone can create
attention getting object animations for web sites or on-line auctions. Bring your auction
listings or
web site to life using our new 14" white EZspin turntable. Combine this turntable with any of our
Universal Lighting kits, for fast slam dunk spinning objects. Just place your
product in the center of the turntable and shoot. Rotate the turntable and
shoot again. Continue rotating and shooting until you have the desired number
of still image views. Six views of your item is the recommended minimum.
No special proprietary software is needed; you can quickly turn your series of
still images into animated files using the standard versions of Photoshop or Photoshop Elements.
|
|
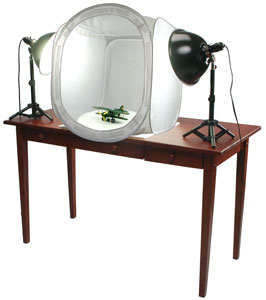 |
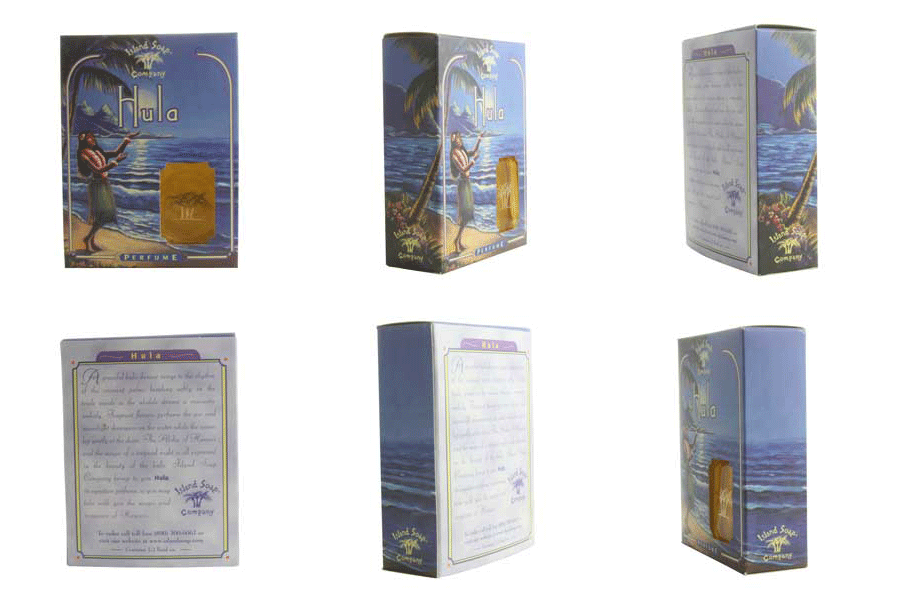
Hula box.gif
|
For those of you who just want to pop your product in and shoot 6 views, for the quickest Ebay
slideshow spin, just use the
six special marked dots printed on the outer edge of the turntable, and
forget about counting degrees. The possibilities of spinning your small
subjects are endless. If your more advanced and want more views for a
smoother spin, we've fully labeled our turntable in 10 degree increments up
to 360 degrees.
|
|
Let's get started spinning
your product...

|
Step 1.
Just place your item in the center of the turntable. Decide how many
views you would like to shoot for your spinning object. I recommend starting with
six views. It's easier to work with just 6 images for your first 3D spinning
object. The hula box
is a great example of a 6 image spin. "You can't fail using the six dot
system."
|
|
|
Step 2.
Use the six special predefined dots on the outer edge of the
white EZspin turntable. Snap your first photo, then rotate the turntable to the
next dot and snap again.
I lined
up my first dot with a tiny "
x
" on the background sweep. You could just as easily use a paper
clip or any other small item that's handy. Rotate each dot into position with the mark and
shoot. Repeat until you have all six still image views.
|
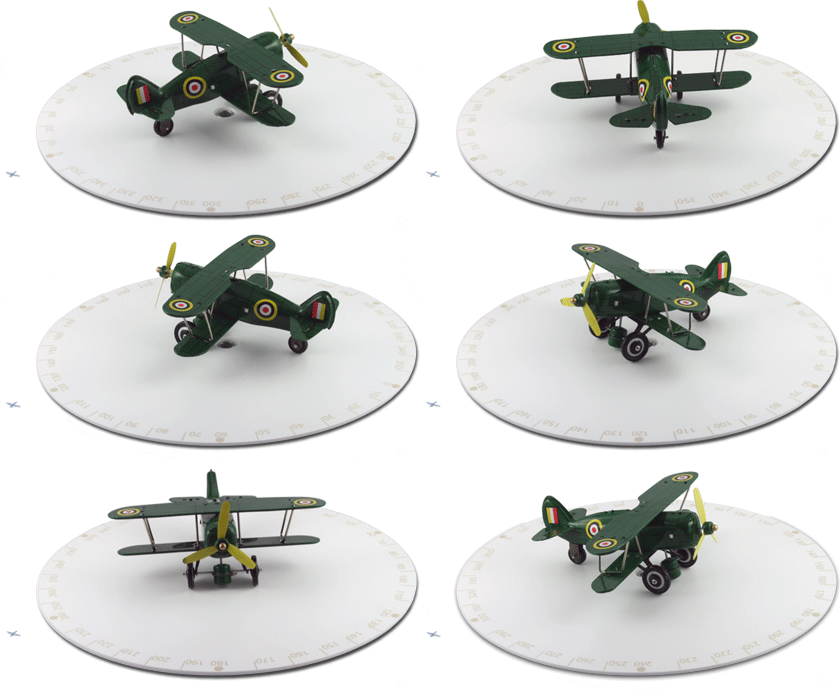
note the tiny x
to the left of the turntable... |
Step 3.
To create your animation open your six images in Photoshop or Photoshop
Elements . Combine the images into one by simply holding down the
shift key while dragging each image on top of the first image. This creates
a single image with six perfectly aligned layers.

In Photoshop Elements just save your finished animation as an
animated .gif or flip
book.
Or if your using
Photoshop you can save your animation as a
Flash file
or animated .gif.
Or use Image Ready (a standard part of
Photoshop) to save the animation as an animated .gif file.
View our Step-by-Step video on creating animation in Photoshop.
|

