Jewelry Photography |
|
|
|
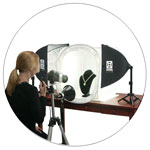
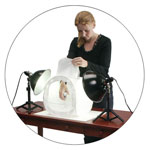
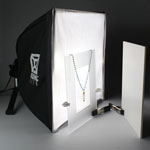
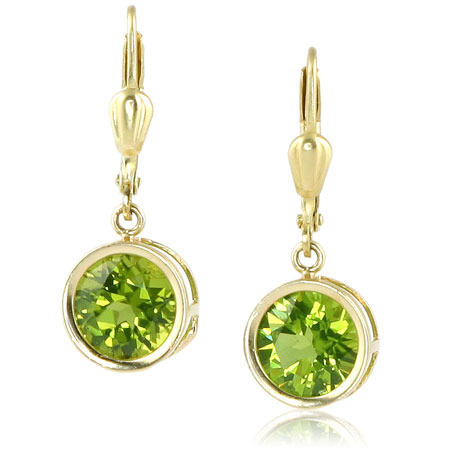
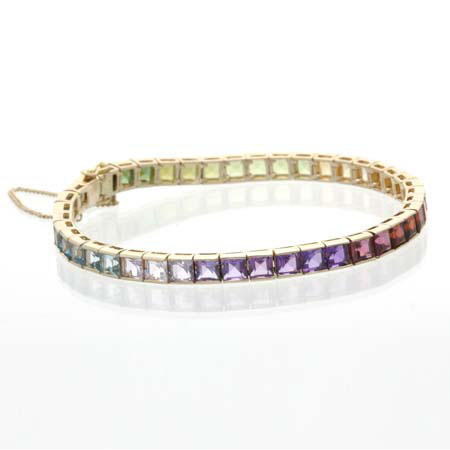
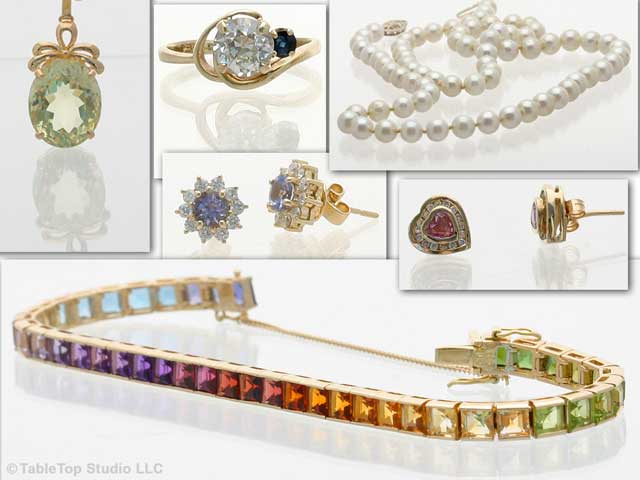
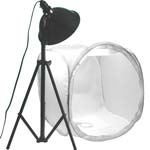
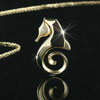
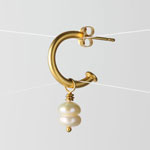
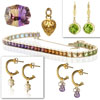
Taking good quality pictures of jewelry for most is an unsolved mystery. However, there are some simple techniques used by the professional, which even amateur photographers can use to obtain dramatic results with minimal effort. The following examples show the basic setup that should allow anyone to achieve results they can be proud of. These images were all taken using a Canon Digital Rebel camera with a 100MM lens. The basic setup we used included an EZcube light tent to soften the shadows and
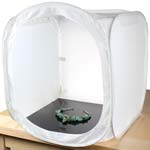
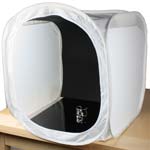
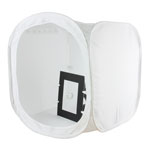
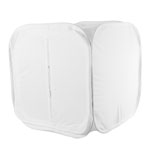
eliminate glare, while providing a clean and clutter free background. We used
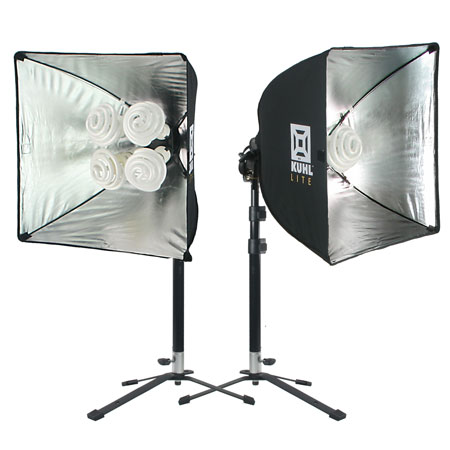
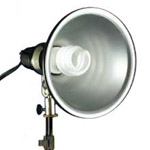
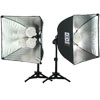
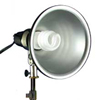
TabletopStudio lights as the primary
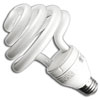
light source, equipped with true color daylight balanced compact fluorescent
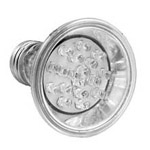
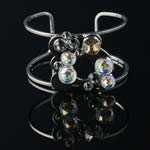
bulbs. We also used a special Diamond dazzler LED bulb to light up the diamonds and faceted gems
in the example images on this page. Another key to a sharp image is a tripod. It is absolutely essential to use a tripod or similar camera support when shooting jewelry. A sturdy tripod is better than a flimsy one, but any tripod is many times better than no tripod. Use a tripod. Another key to good jewelry photography is the lighting. Normally diffuse (soft) lighting works best for jewelry. You have probably already discovered that an on-camera flash does not lead to good jewelry photos. Not only is the camera's flash too bright at such a close distance, but it is probably in the wrong position to actually light up the jewelry properly. On camera flash will also create harsh and distracting shadows. Rather than flash, we like to use continuous lighting for product photography. Using continuous lights makes it easier to visualize what the final image will be like. We prefer daylight balanced compact fluorescent bulbs for lighting. These bulbs provide nice, natural-colored light and they produce very little heat so they can be left on for long photo sessions without over heating the photographer. Even fluorescent light bulbs will need to be diffused and for that we use an EZcube light tent as the diffuser. A small light tent makes it easy to reduce glare and control shadows for jewelry photography. Proper exposure is also key to good jewelry photography. (For more information on adjusting the exposure for jewelry images take a look at this page.) Now lets look at some specific jewelry photography situations that go beyond the basics. |
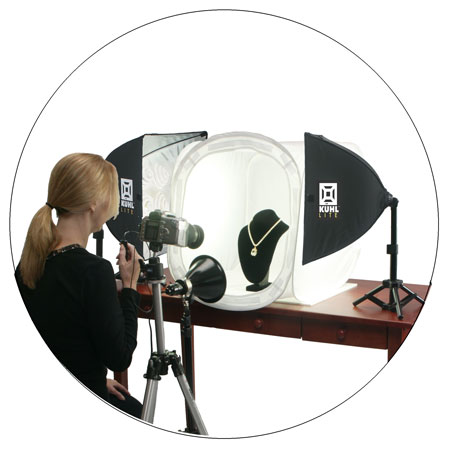
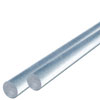
The reason we often times choose to work with a light tent is because it can provide fast and easy soft lighting, instantly provides a clutter free background along with convenient backdrop support. The Tabletopstudio EZcube's have evolved over time with significant changes made to the design from feedback gathered at countless hours of jewelry photography workshops held in partnership with Brooks Photography Institute. Some of the modifications includes new ways to hang or suspend items more easily inside the tent as well as accessories designed to work with the new EZcube features like acrylic rods that can be suspended inside by the new built-in grommet strips lining the top inside. |
Soft lighting is created partly by the relative size of the light to the subject One way to effect the size of your light relative to your subject, is to place your light close to the subject you are lighting. This softens the light by making it larger in relation to the subject. There are times where it is ideal to have lights that allow you the flexibility to place them as close as possible to your subject. In this case, the smaller the lighting footprint the better. |
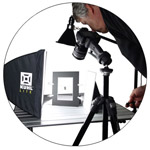
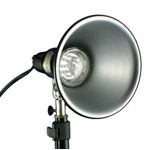
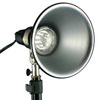
Position the sparkler light to shine directly into the gemstone to illuminate the stone. Because this light is not diffused by the light tent, it needs to be a weaker light than the side lights. Move this light until you see the gem light up. Look through the camera's viewfinder when positioning the sparkler light. While taking these example images, I found it helpful to turn off the other lights while I found the perfect placement for the sparkler light. |
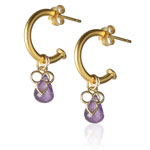
Sparkler light |
|
Diamond Dazzler LED |
||
Sparkler with Dazzler bulb |
Basic Jewelry Photography Tools & Equipment |
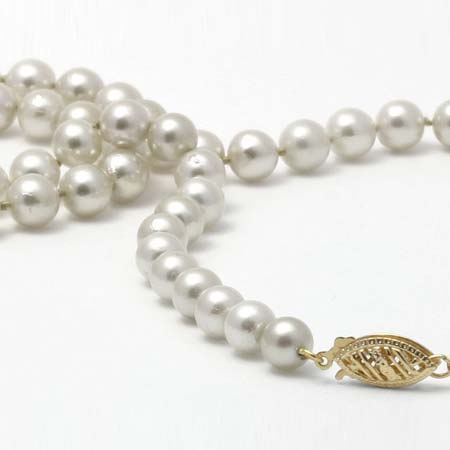
The jewelry photography lighting & equipment used to take the example images shown above is provided here in detail. Please note the sparkler light and diamond dazzler LED bulb are not necessary for all jewelry. They are designed for use with faceted stones such as diamonds and faceted gems. Pearls & Cabochons will not work with the LED Diamond Dazzler. Undesirable reflections of all 36 leds will reflect on the cabochon or pearl surface. |
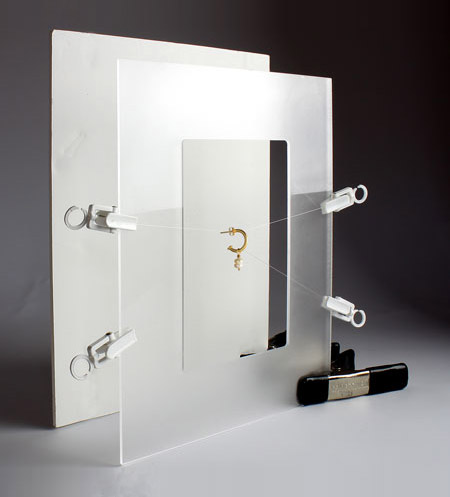
Now you can move the freeze frame, instead of the earring, to find a pleasing angle of view of the earring frozen in place. Now position the freeze frame 10" x 12" white background behind your earring and take a look through the camera. A great secret to know when shooting earrings that match ... pros often shoot one individual earring and use Photoshop, to create a duplicate. |
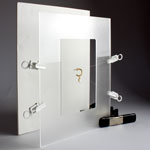
Jewelry Freeze Frame |
|
Un-edited image from camera |
||
After touch-up in Photoshop |
Large clear acrylic stud holder |
Small acrylic stud holder |
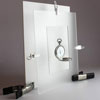
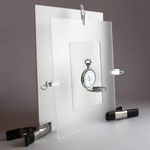
Pocket watch in Freeze Frame |
Before touch-up in Photoshop |
After touch-up in Photoshop |
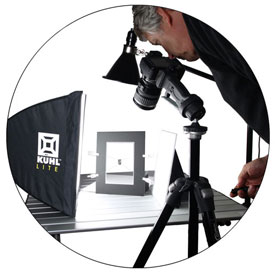
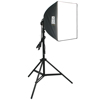
Keep in mind that to avoid harsh shadows and reduce glare, jewelry photography, like all product photography, normally requires soft lighting, For soft lighting the Freeze Frame can be used inside an EZcube or with the Kuhl Lite soft boxes.The primary light source for the examples shown on this page was one single Kuhl Lite 120 soft box . This light holds four 30 Watt compact fluorescent bulbs, putting out a substantial amount of light, which allows you to shoot with your camera set to a faster shutter speed. The image to the right shows a ring suspended in the freeze frame. In this setup the camera is shooting downward so the white freeze frame background is laying on the table surface and would appear to be behind the diamond ring in the photo. Because this is an open set {not an enclosed light tent} sometimes your shiny jewelry will reflect darkness from items in the room. Use the white fill card as shown in this setup to "fill" the darker areas with reflected light. The fill card should always face the light source it is reflecting, to be effective. Move the card around to find the right spot if your jewelry needs a little extra light in one spot. Be sure that all of your lights match in color or you will not be happy with the results. NEVER mix different light source bulb colors. Also, leave your auto white balance setting ALONE. Most cameras do a great job with this set to Auto. If you ignore this advice and change your white balance setting, expect a greenish color cast over the entire image. White balance settings will not give you a white background. |
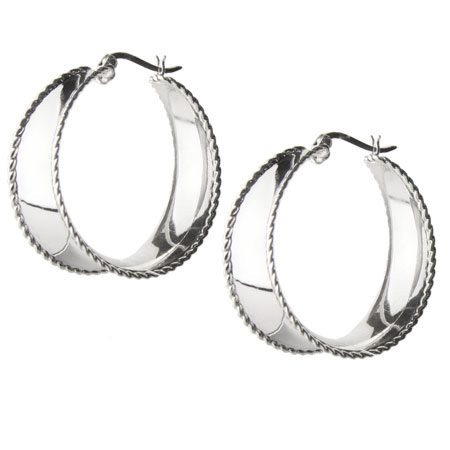
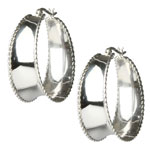
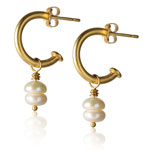
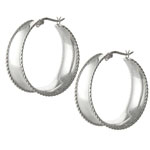
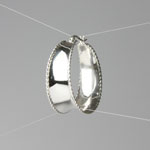
A) The silver hoop earring hung in the freeze frame on a table, NO light tent. The earrings reflected everything in the room; looking "noisy". See setup A) below. B) the same earring hung on the Freeze Frame now placed inside the EZcube, leaving the front of the tent open. See setup B) below. C) eliminate even more reflections by placing the EZcube front cover in place. It will be a personal choice which way to go & which style appeals most to you while shooting your product. This result is too dull for my liking. See setup C) below. |
A) NO EZcube Light Tent |
|
B) EZcube no front cover |
||
C) EZcube with front cover |
A) Freeze Frame NO EZcube |
B) EZcube - NO front cover |
C) EZcube - Front Cover |
A) Freeze Frame NO EZcube |
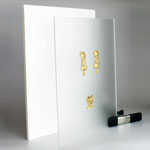
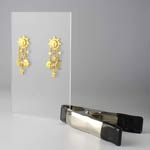
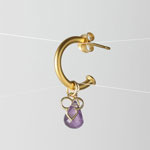
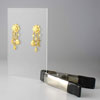
The Freeze Frame setup shown above provides many ways of hanging the same piece of jewelry; you can find what works best for your item. Necklaces can be hung from the background or in the Freeze Frame. Stud earrings are a snap now with the new addition of the large and mini clear acrylic earring stud holders. |
Copyright © 2014 TableTop Studio INC. All rights reserved.
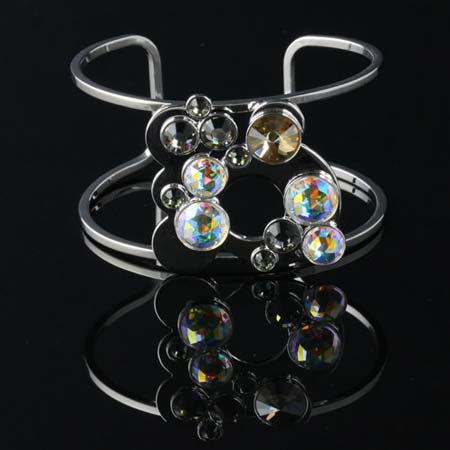
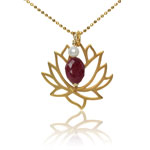
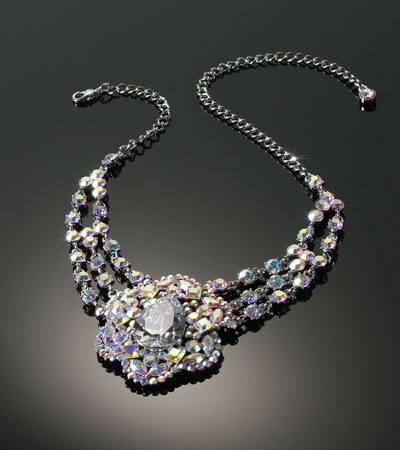
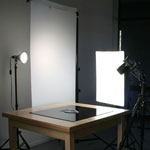
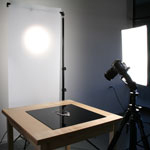
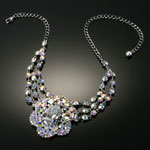
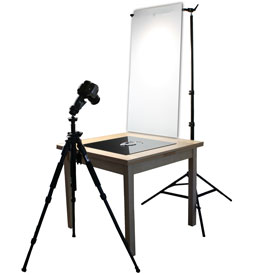
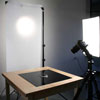
The primary light source for the necklace shown, was positioned on the side of the table, facing downward toward the jewelry and table surface. A single soft box was used to soften the primary light source and prevent glare and hotspots on the surface of the crystals. We used one single 20" x 20" Kuhl Lite 120 soft box for this. This light holds four 30 Watt compact fluorescent bulbs, putting out a substantial amount of light, which allows you to shoot with your camera set to a faster shutter speed. The large acrylic sheet used, has a protective sheet on both sides; we highly recommend leaving the second side covered with the protective sheeting until you intend to use it. The acrylic does scratch easily, so dragging jewelry across the surface is to be avoided when at all possible. Glass is more durable and can be used instead of acrylic; however it is more hazardous to work with due to the fragile nature of glass. This technique works especially well for jewelry that lies flat like the necklace shown. Because this is an open set and the black acrylic is highly reflective, it will take some patience to line things up just right so the acrylic is not reflecting things you do not wish to see in your image. If you have the opportunity to work in an area with high ceilings, that helps to reduce the overhead reflections a bit. Be sure to keep looking through the camera lens after repositioning any part of the setup. Unwanted reflections have a way of sneaking in just when you think you're all set. Be sure that all of your lights match in color or you will not be happy with the results. NEVER mix different light source bulb colors. I use all 5000K daylight balanced bulbs for all of my example images. |
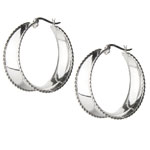
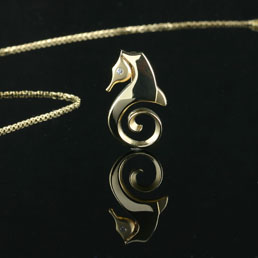
The equipment shown here works great for taking pictures of jewelry in the specific style shown above. This is a very popular style of photography seen often in high end fashion magazines. The lighting setup creates a wonderful special Halo Effect. |
Copyright © 2014 TableTop Studio INC. All rights reserved.